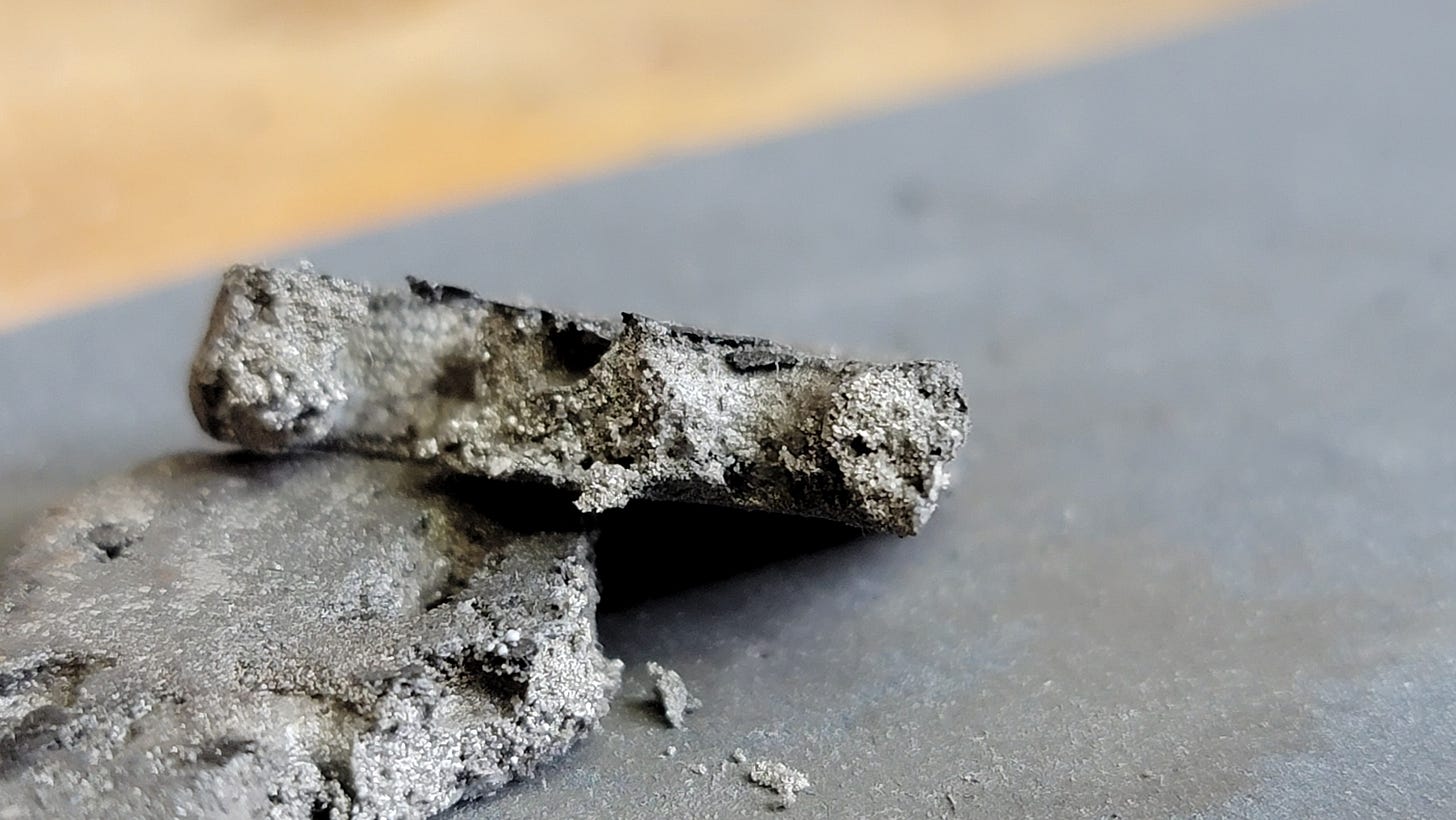
In the last write-up we continued down the road of trying to sinter aluminum. We ran into some challenges but it looked like we were making progress.
In the beginning the test ring looked as if it was sweating, but this appeared to be leftover flux that had a chemical reaction out of the kiln to breakdown into a liquid at room temp.
The piece was notably much stronger right out of the kiln when compared to the debound part before going in, so this led me to continue trying (this time with a common dust cleaner atmosphere instead of the argon).
In addition to the different atmosphere I also wanted to try a higher sinter temperature with a longer sinter time.
Overall, the results keep getting better and lead me to think that I'm on to something promising. While I don't have a specific use case for the aluminum parts yet, it's been a personal challenge for myself and has been very rewarding seeing progress for something that has been reserved for big industry, using only maker friendly tools and consumables.
My next steps will involve tweaking the firing times as well as finding out what is exactly critical and what can be cut for this to properly sinter on the test rings.
If you're a visual learner like myself feel free to take a look at the video log below and leave a comment if have questions.
Cheers 🍻,
-highball
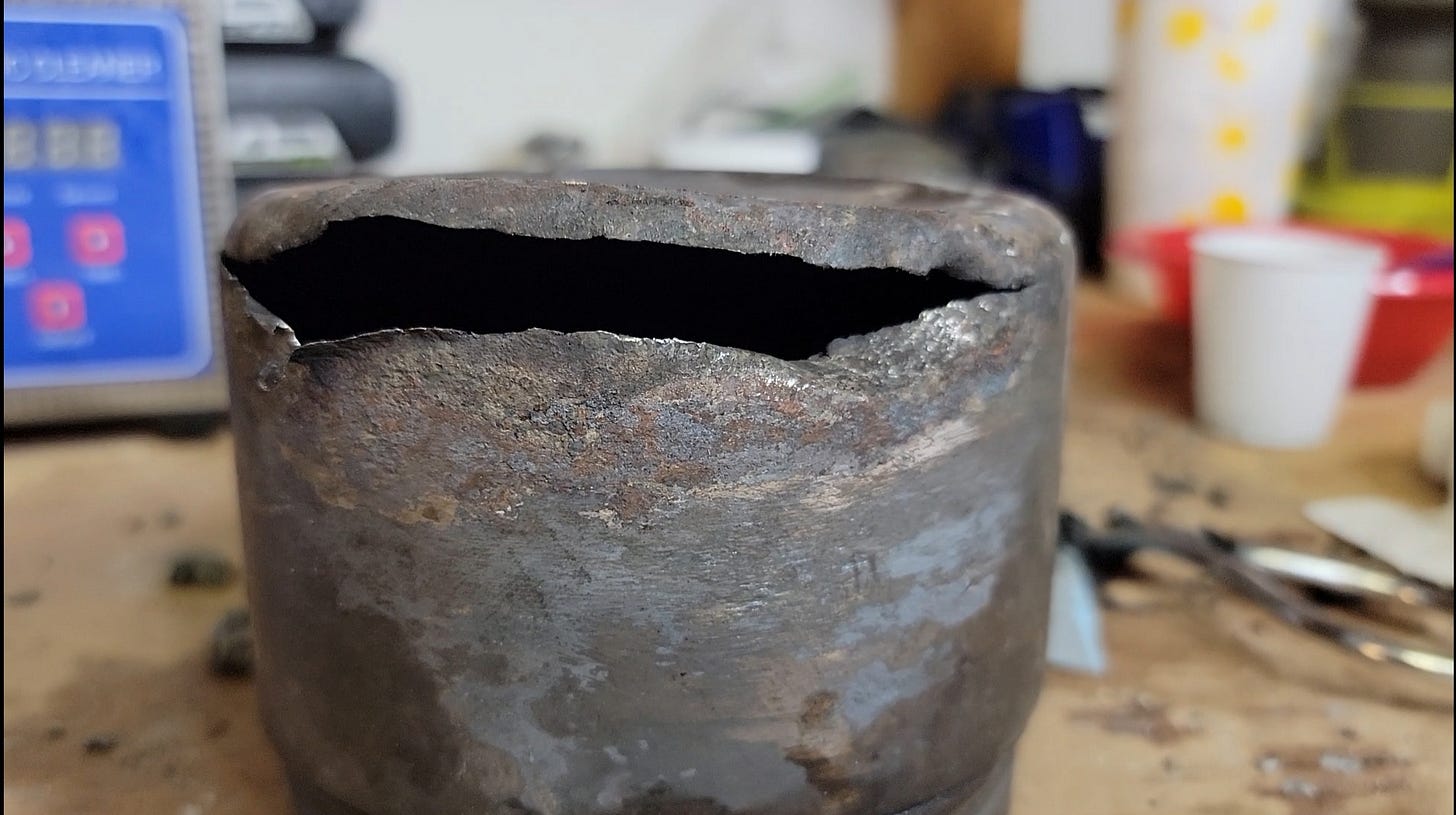
Oh… and my steel cannister is toast 😔 but I'm going to try and use a casted crucible with a lid to see if I can replicate the results 🤞


if you are looking to change the atmosphere of the print to a more favorable sintering atmosphere you could try adding an ammonia based salt to crucible. at high temperatures the ammonia will decompose into hydrogen and nitrogen making a very good sintering environment if your container is decently sealed